What Is an Exhibition — and How Students Can Organize a Painting Show
A crisp, practical walkthrough: concept → plan → budget → venue → curation → installation → promotion → opening night → wrap-up. Copyable tables and checklists included.
What Is an Exhibition?
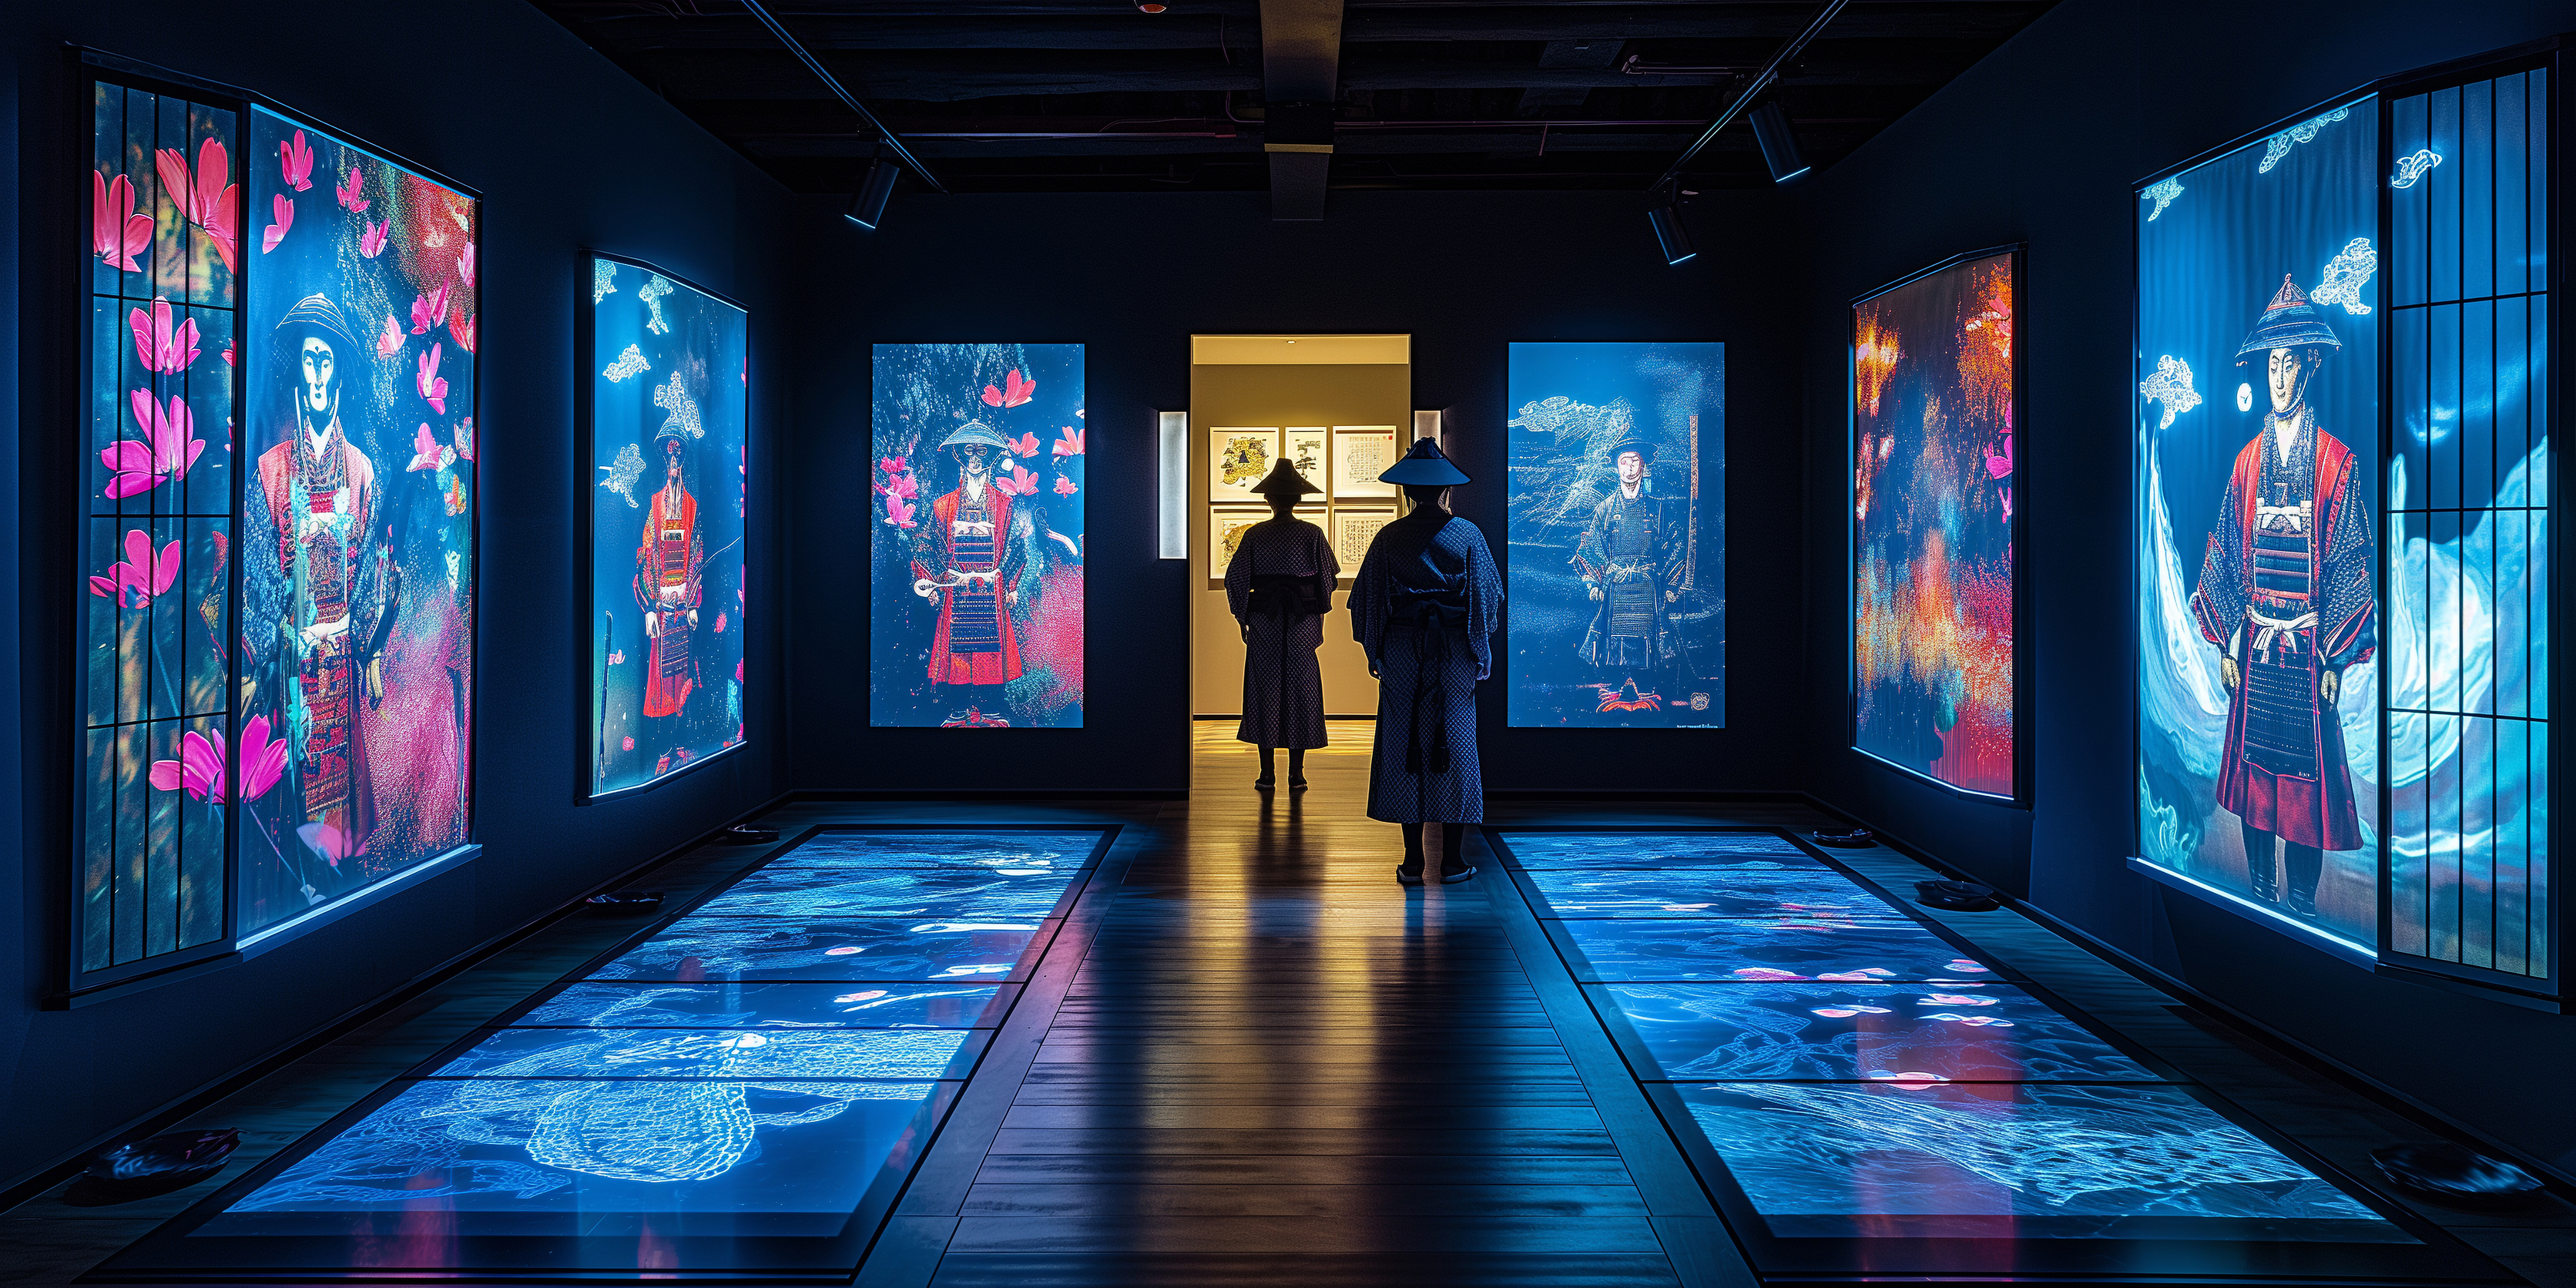
An exhibition is a curated public presentation of artworks arranged to communicate a cohesive idea, narrative, or aesthetic. Beyond hanging paintings on a wall, it’s about framing a conversation between works, space, and audience through selection, context, and design.
Purposes & Types
Why exhibit? To share a vision, collect feedback, build a portfolio, and practice collaboration. Student shows develop real, marketable skills: project management, negotiation, and audience engagement.
Common Formats
- Solo: one artist’s focused statement.
- Group: multiple artists in dialogue.
- Thematic/Juried: works selected to a brief or by a jury.
- Pop-up: temporary activation of cafés, studios, warehouses, libraries, or storefronts.
Planning Your Student Show
Core Steps
- Define a concept: medium, story, or question that ties the works together.
- Create roles: curator, installation lead, marketing, documentation, front-of-house.
- Set a schedule: lock dates for selection, framing, press, install, opening, teardown.
- Draft a budget: estimate venue, materials, prints, and reception costs.
- Choose a venue: campus gallery, independent space, or pop-up location.
Sample Six-Week Timeline
| Week | Milestones | Notes |
|---|---|---|
| 1 | Concept, team roles, shortlist venues | Hold a kickoff; align on scope and budget ceiling |
| 2 | Confirm venue & dates; issue open call (if group) | Start press kit and basic visual identity |
| 3 | Select works; framing/mounting orders | Draft wall text and labels |
| 4 | Marketing push; finalize layout | Prep hanging hardware and lighting plan |
| 5 | Install (2–3 days); lighting focus | Final proof of labels/signage |
| 6 | Opening night; documentation | Collect feedback; plan teardown |
Budget & Venue
| Item | Estimate | Notes |
|---|---|---|
| Venue / space fee | $0–$600 | Campus galleries often free; pop-ups may require deposit |
| Framing / mounting | $20–$220 per piece | Bulk or DIY options reduce cost |
| Lighting / hardware | $60–$300 | Borrow track lights; reuse hooks, wires, anchors |
| Prints & signage | $50–$200 | Labels, wall text, postcards, QR codes |
| Transport / insurance | $0–$200 | Local pickup preferred; check venue coverage |
| Opening reception | $60–$250 | Keep it minimal but welcoming |
| Contingency (10%) | Variable | For last-minute needs |
Choosing a Venue
- Campus spaces: accessible, affordable, supportive staff.
- Independent galleries: pro context, more visibility.
- Alternative spaces: cafés, studios, libraries, warehouses.
Check wall surface, lighting, load-in access, security, opening hours, and permissions for hanging methods.
Curation & Installation
Selection & Flow
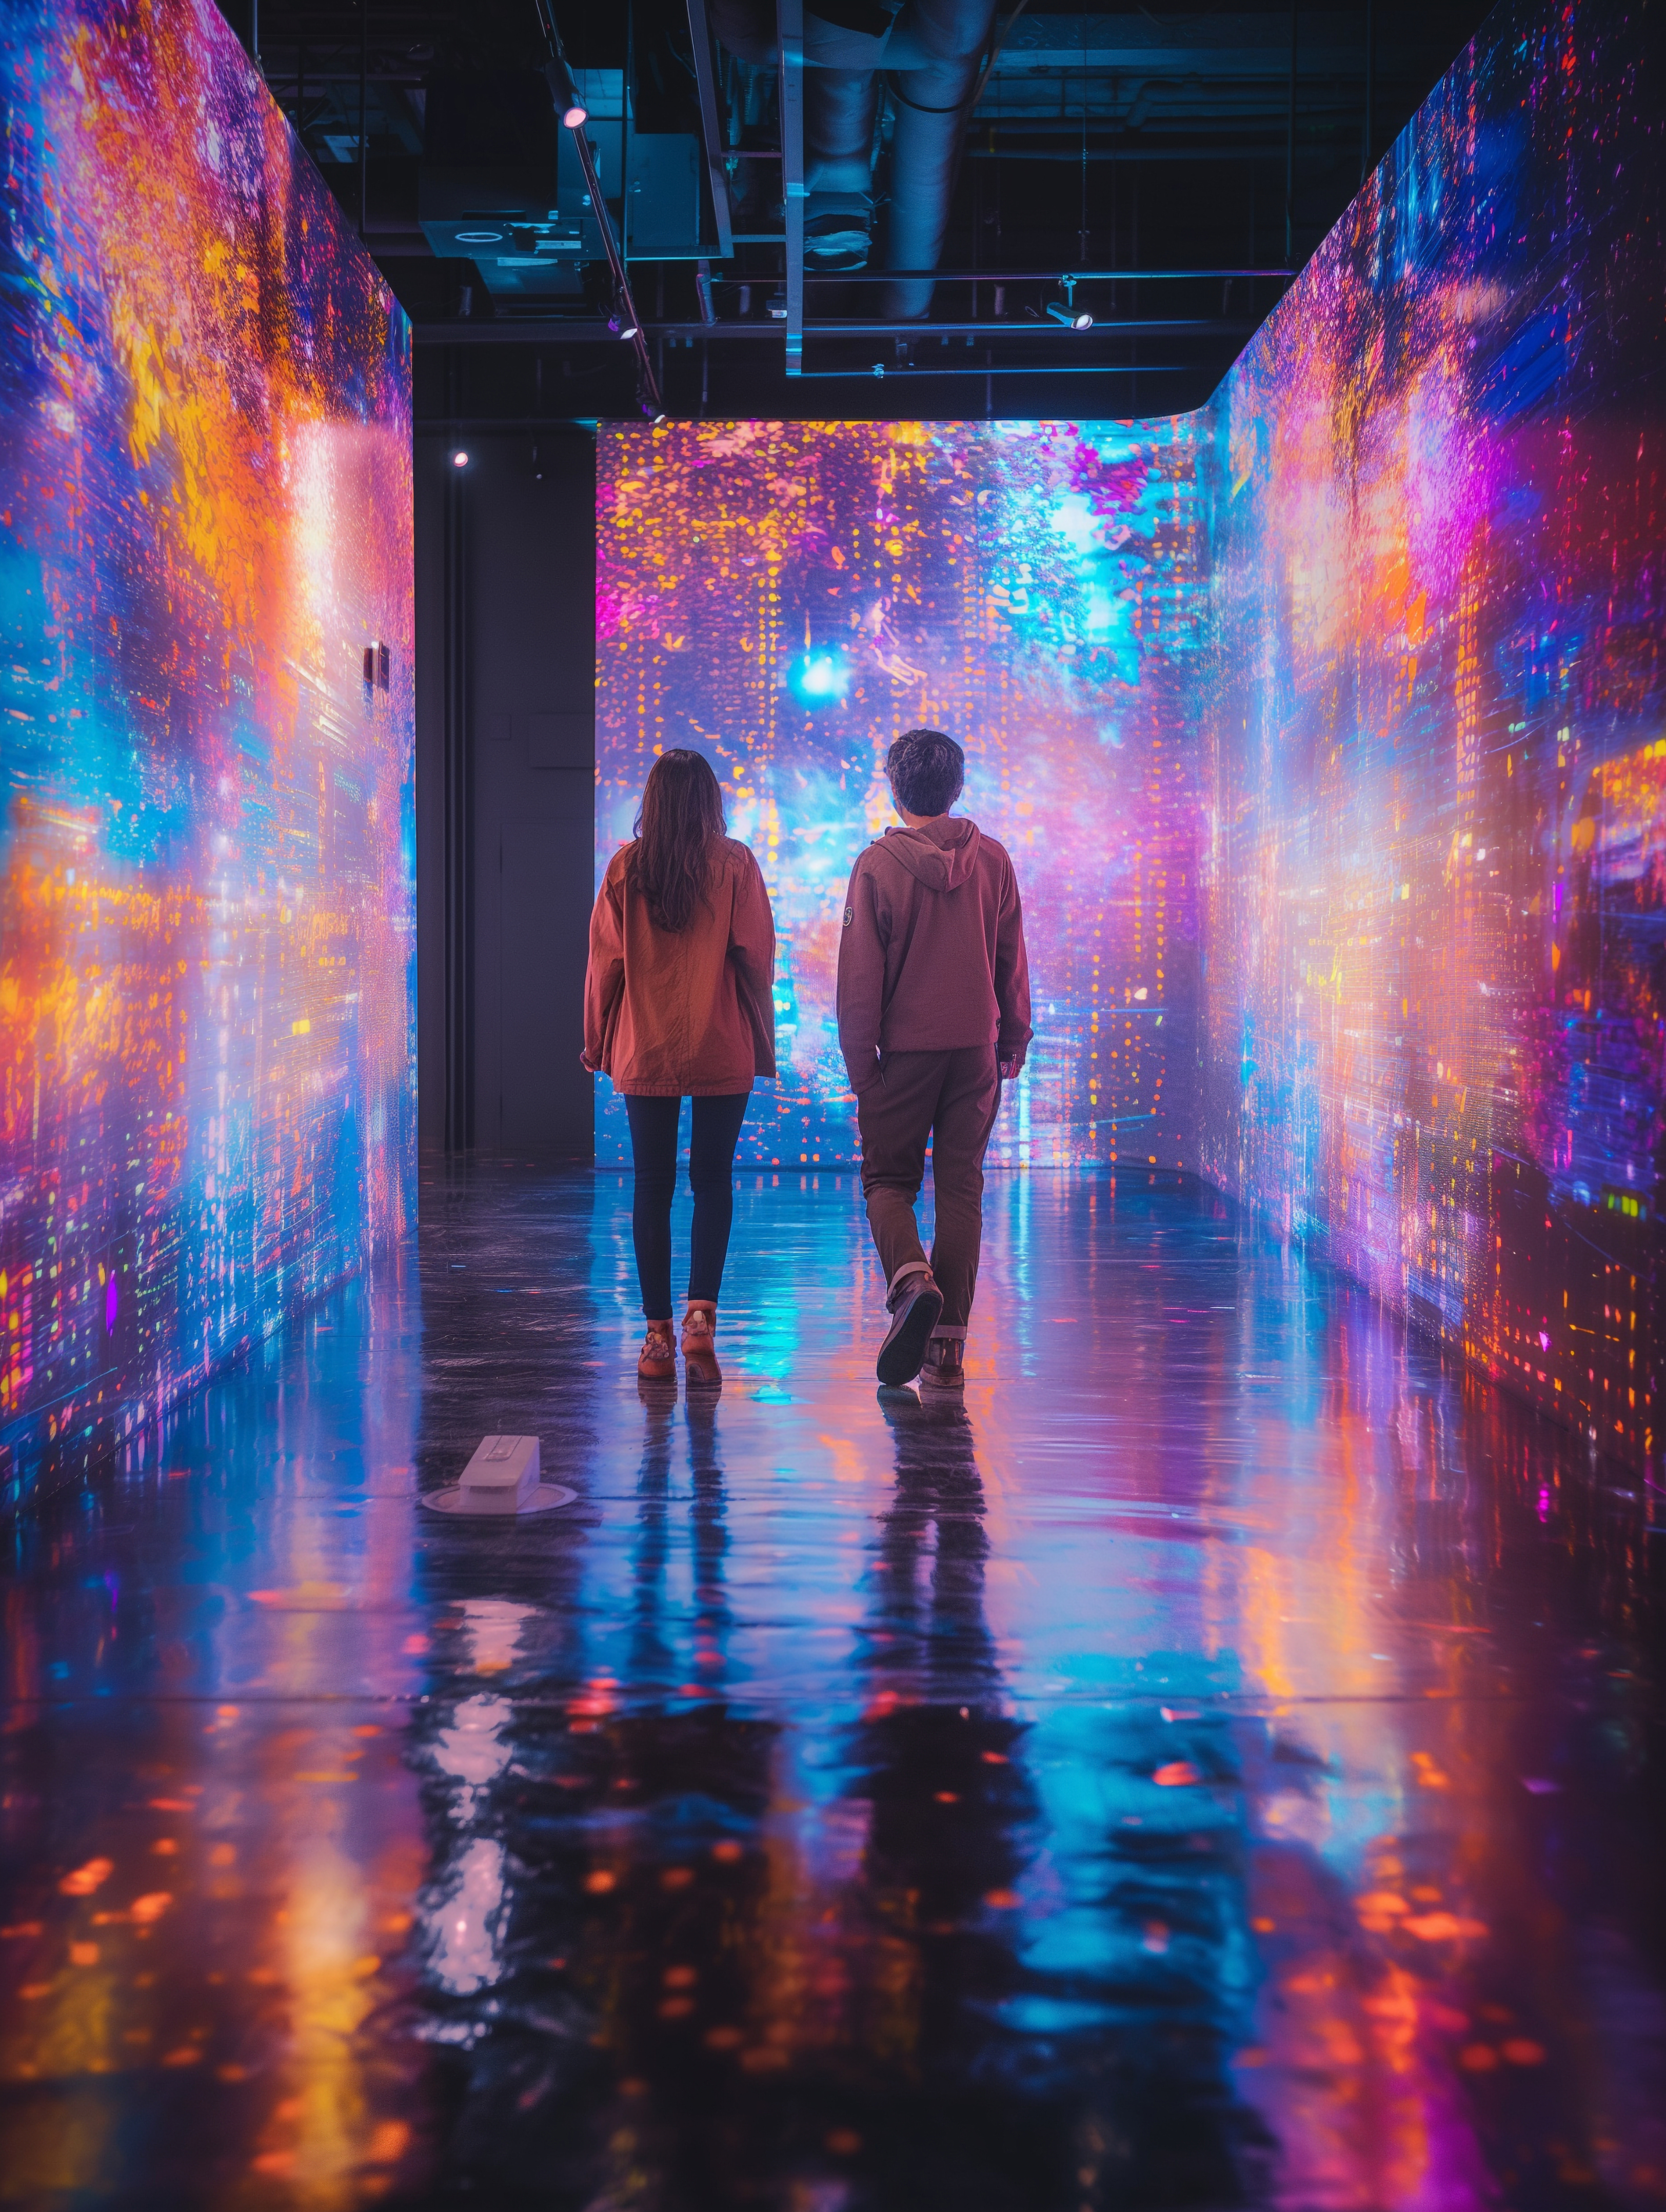
Finalize a tight list of works. Sketch a floor plan with sightlines and rhythm—anchor pieces, transitions, and breathing room. Keep labels legible and consistent.
Lighting & Hanging
- Aim fixtures at ~30–45° to reduce glare; balance color temperature.
- Consistent centerline height (around 57–60" / 145–152 cm).
- Secure mounting: D-rings/wire or gallery rails; test before opening.
Promotion & Opening Night
Branding & Materials
Design a simple identity—title lock-up, color, type choices—and reuse across posters, socials, and labels. Add a QR to your event page.
Channels
- Instagram/TikTok teasers, WIP reels, countdown posts.
- Campus newsletters, student radio, local art blogs.
- Event listings (Eventbrite, community calendars).
Opening Night
Keep the run of show short: 2–3 brief remarks, artist intro, then let the room breathe. Offer a guestbook; encourage photos and tagging.
Running the Show
- Front-of-house greeter; simple printed map if the layout meanders.
- Check labels, lighting focus, and safety before doors open.
- Capture documentation (photo + short video); post credits after.
After the Show
Teardown & Return
Remove works carefully, patch walls if needed, return hardware to storage. Verify condition reports where relevant.
Evaluate
What worked? What was hard? Note time estimates and vendor contacts for the next show.
Publish
Post a concise recap with images, credits, and a thanks to the venue and supporters. Add to your portfolio and CV.
See It at Greenpoint
Explore real-world examples and installation images from the gallery’s archive:
- Exhibitions — recent and past shows.
- “Up In Smoke” installation images — observe spacing, sightlines, and label placement.
- About — read the curatorial perspective and gallery context.
- Home — start here for updates.